As I typed yesterday, I realized that I hadn't done a very good job, at all, of showing the city as a scar against the rain forest parts. I knew I needed to fix the SP portion of the quilt, but as I napped in the afternoon I realized I also needed to figure out how to make the city feel more scarrish, like it was slicing through the rain forest
(which, in fact, it is). I went to bed with that on my mind, and woke up with an idea.
I love those aha! moments like that, and got up energized and ready to play! First up, I ripped out the SP. I knew that one did not work, at all. When I'd made it, I loved it. But as I played with what building it would "pop" against, I forgot about where it landed; middle of the street just wouldn't work. Oops. And I tried working from memory and got the oh so striking angles all wrong. Double oops. So, seam ripper to the rescue; goodbye, blocky SP bits.
 |
| ripping out |
 |
| and ripping |
 |
| goodbye, S! |
 |
| goodbye, P! Hello, nice blank canvas! |
After that was done, I pulled out my greens and set to work. I decided I couldn't get the new SP into the right place until I had the extra hills in place, so I started with this. I knew I didn't want a choppy look, so I cut several random bits into curvy edged shapes, reminiscent of hills, then I auditioned different pieces in different areas on either side of the cityscape.
 |
| the right side went together easily |
On the right hand side, I used the same greens as the hill below, to really emphasize that this was the same area, just cut in half by the city. I left the top & bottom edges straight, bumping right against the street or building, just to extra emphasize that slashing, cutting effect. The hill itself was all one piece, cut in half, and the top half placed above/behind the city, the bottom left below/in front of, and scooted over a bit. I think this side, especially, gives the scar effect I was after.
The left side was harder; which fabrics, in which place....
 |
| option a |
 |
| option b |
 |
| option c |
For this side, I played around with fronts, backs, sideways....lots of flipping and turning before choosing. Once I was happy with the color, scale & placement, I glued down the pieces using a washable glue stick and then took them over and raw-edge machine appliqued them in place. I put hills in front of the left side of the city and a hill that appears cut in half on the right side; yes, this makes it look like the city is the scar that it is.
 |
| glued |
 |
| glueing |
 |
sewn -- yes, now the city feels like it cuts through the rain forest instead of sits atop it
much better! |
Now I could get to the SP. I went back to the photo and drew the shapes of the S and the P onto a piece of batting that was around the size I wanted. I cut those out and used the batting templates to audition for placement. Where should these go???
 |
| far left |
 |
| middle? |
 |
| far right? |
Once I understood where they were meant to be, I pulled some little charm squares to audition as fabric options. I knew I wanted gray, or possibly off-white. Not black, not stark white, as that would be too lost against the black & white street & buildings.
 |
| placement chosen, auditioning fabric options |
I thought about a splash of color, but I'm still contemplating adding flowers to the rain forest, and part of what I love about the inspiration photo is the very starkness and sterile feel of it; I felt that red would mitigate that.
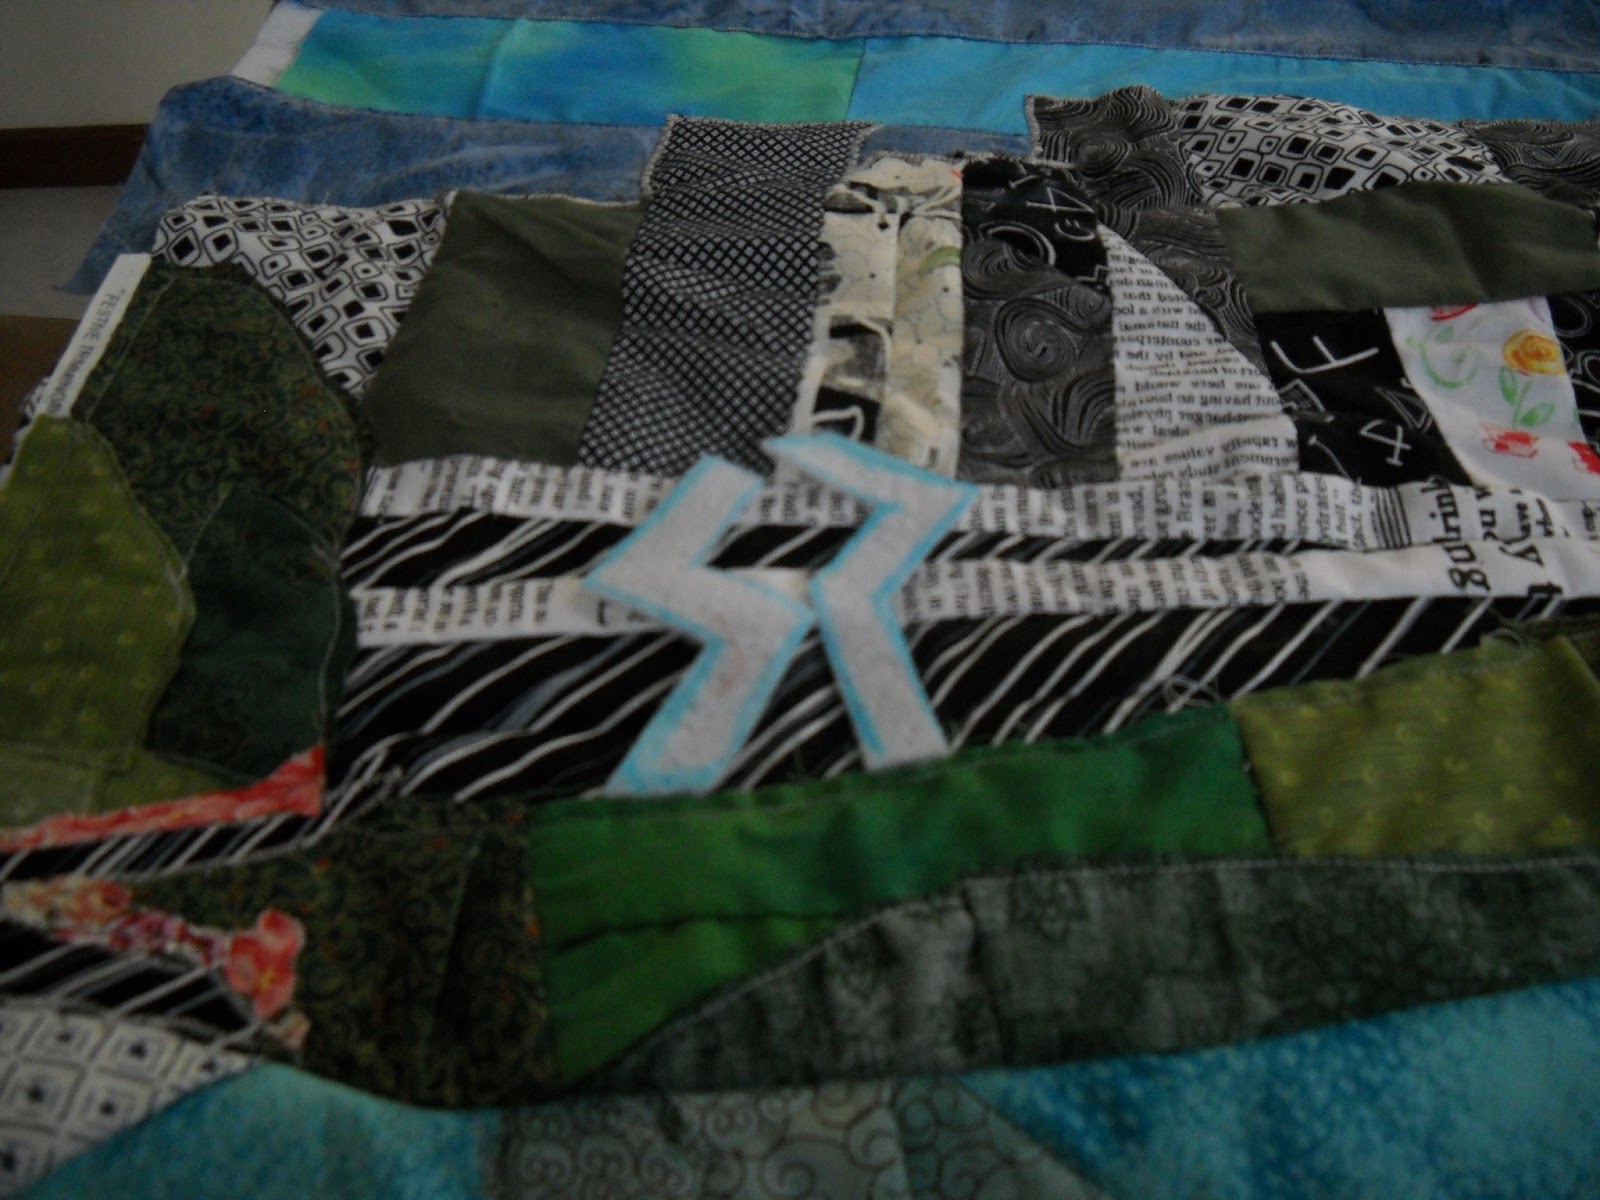
I turned the zigzag print this way and that, and when I saw the vertical zigzag I knew that was the way to go. Then I decided that to really give this little touch some oomph, I would do a faux trapunto; I carefully picked up one letter, traced it onto the back of the fabric, returned the letter to its proper position next to the other, traced the 2nd one, returned it, cut out the fabric letters and then glued the fabric letter onto the batting template. I did this one at a time, leaving the other in place so I could get the placement just how I wanted; the way the angles of the S and the P meet is a pivotal part of the design
(in the original statue) and what I most wanted to capture, so their placement in relation to each other is almost more important than their placement along the road of the quilt.
 |
| traced and cut |
 |
| glued to the batting |
 |
| placement just so, getting ready to glue... |
Once each template had the fabric glued on, I then glued each whole letter to the background, ready to sew. I was grateful for my "extra up" lever thing that raises my presser foot even higher, so that I could get the quilt under without knocking the letter out of place. Then I set the stitch to a tight zigzag; I've done zigzag
(tight, to catch all the raw edges) around all the "city" elements and raw edge/straight stitch on all the natural elements. I used a stitch length of almost 0 and a width of 3 for this, and machine appliqued the letters to the background; I've also been using my walking foot for all of this. There! Much better!
 |
| all glued down, ready to sew |
 |
zigzag stitched
very pleased with how the fabric lines pop and the angles show up.
Also, see the little slash of street & flowers, heading from city to beach? love that! |
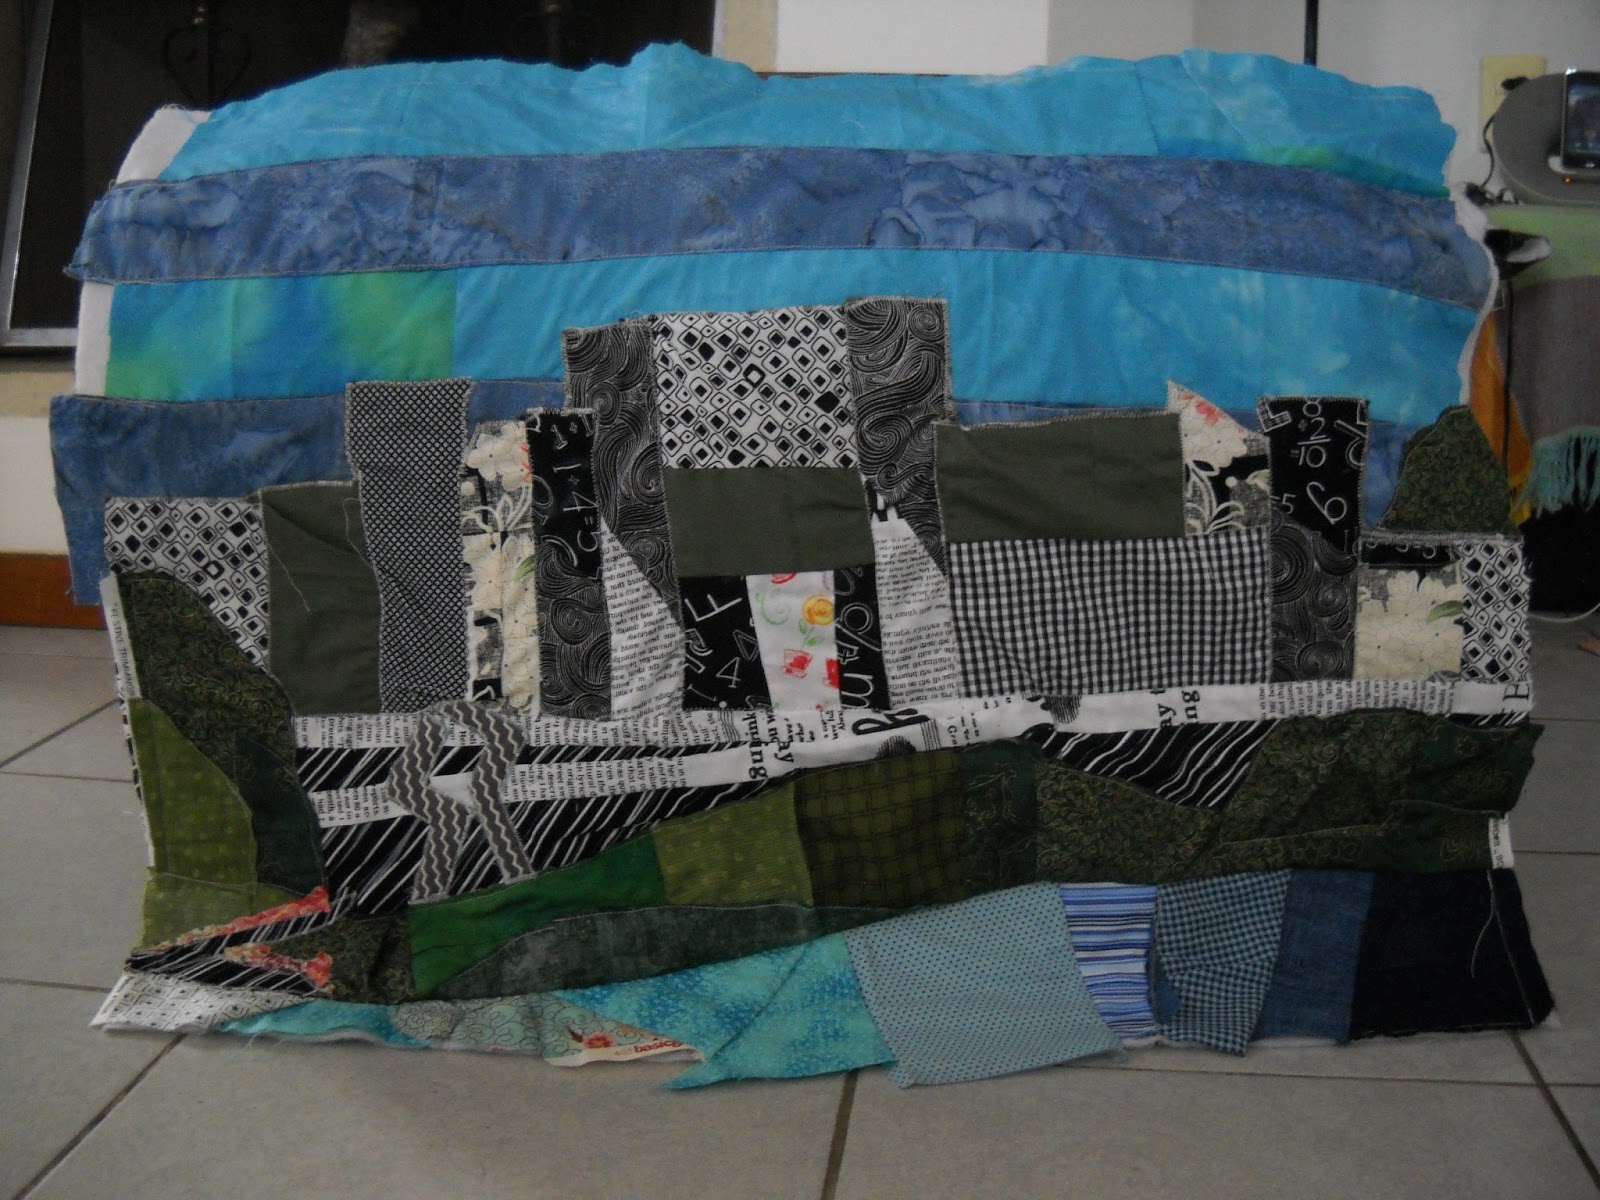
I added one last little touch for now, a narrow slash of road angling down from the city to the beach, and along the road, narrow slashes of flowers. I am uncertain how much more flower/color I'll add to the rain forest; in reality, the drive from the city to the beach
(which does wind through hilly/mountainous rain forest) is full of color. Purples, pinks, reds, yellows, whites....there are flowers everywhere. Down on the roadside, up in the trees, just everywhere. But. This quilt is about the city, so I'm not sure how many flowers to put. Enough that the absence of same makes sense in the cityscape, but I've not yet decided what that looks like. For now, I'm leaving the rain forest part alone and waiting for it to speak to me and tell me what else it wants or needs.
 |
| letting it speak to me for now.... |
This quilt is my attempt to Play Along with the 15 Minutes Play Architecture Challenge; see the other participants, inspiration, process, etc. over at the 15 Minutes Play blog. Deadline is not until July 6, so join in!


No comments:
Post a Comment