Monday, June 17, 2013

Some Tips, and a Beginning

Whew! Let's get sewing on this thing, shall we??  Before I begin, though, a few things I did to make my life easier.

First, the problem of so many greens in one quilt. I did not trust myself to keep them all straight once they were cut into their squares and stacked in my "work in progress" tote. What to do so that I don't mix up which green I need and wind up short on one fabric, long on another??

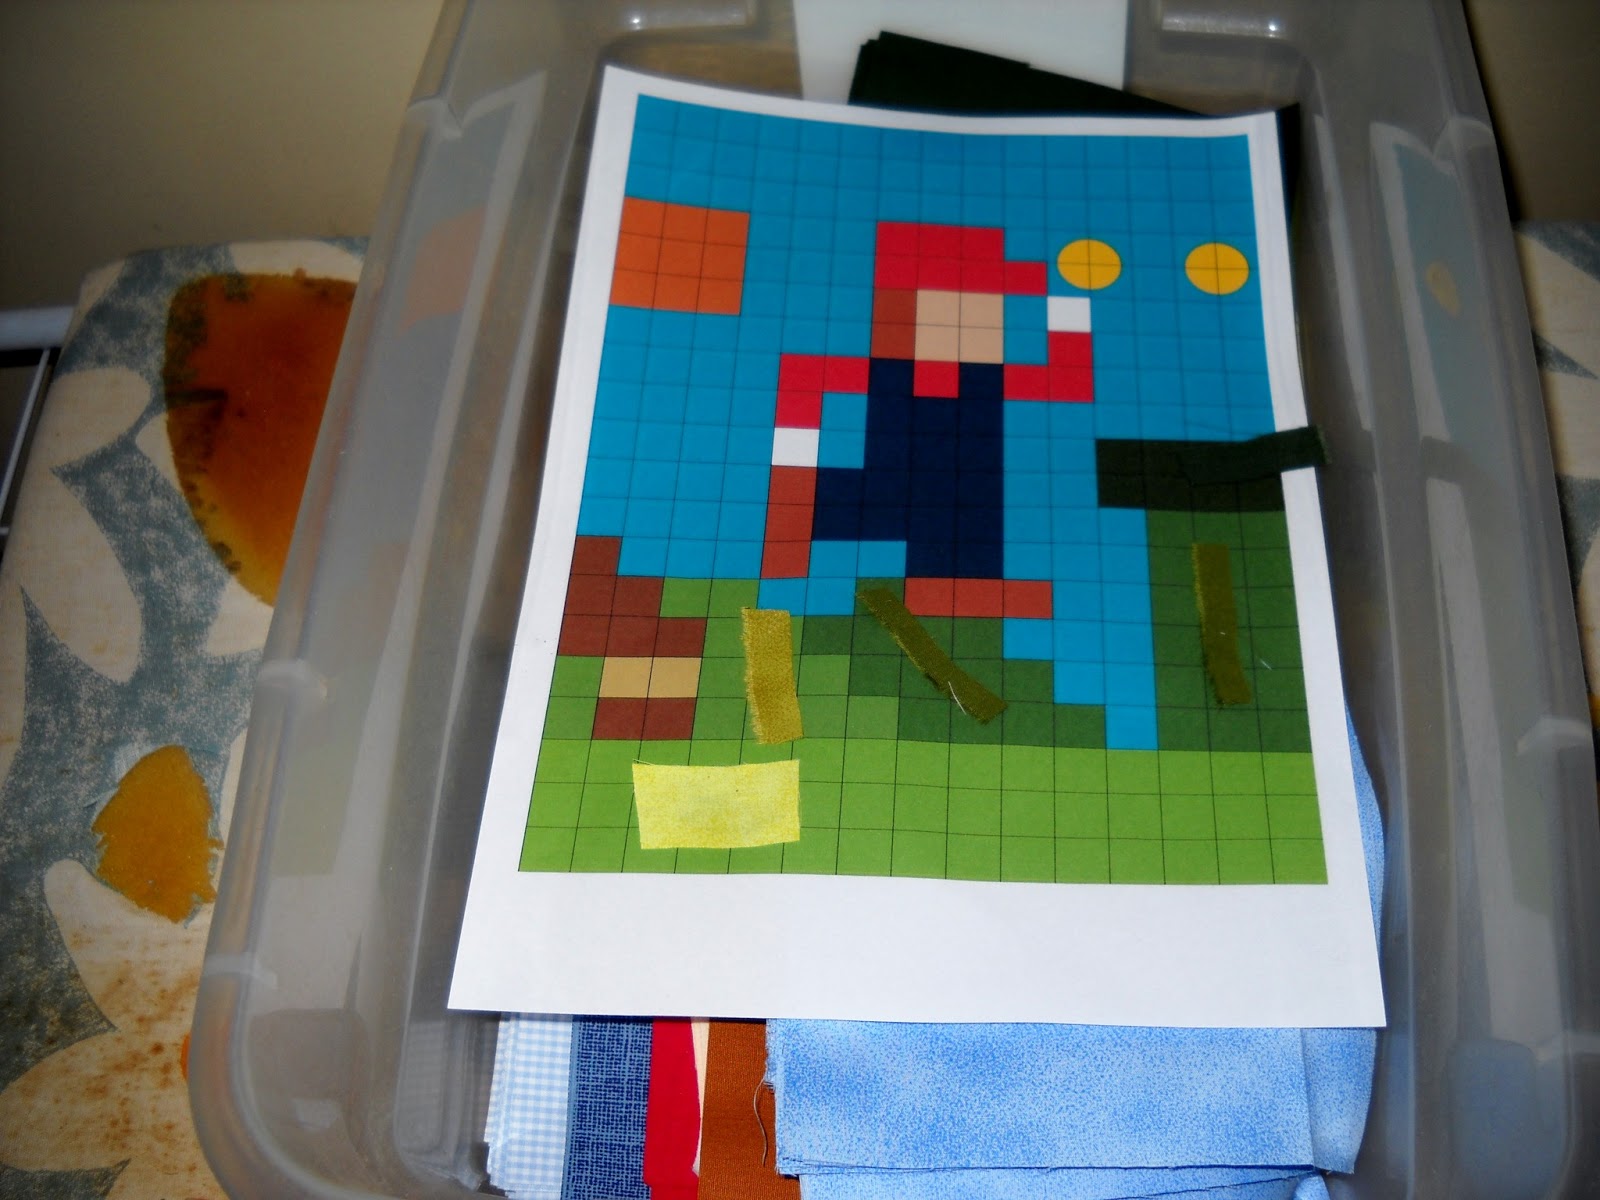
I came up with an easy solution! Since I'm working from a color print out of the design anyway, I simply cut little pieces from the scraps of each and glued them to the color print out.  Now, I have a fabric sample attached right where I need it, on the very print out I'll use as my map as I sew. Since I'll be looking at the print out to make sure I get each square in the right place anyway, this is perfect!

each green fabric, plus little scraps on the print out


the print out, in the tote with the cut squares, ready to go

The other problem is, do I really want to sew one row together at a time (the quilt size is 75" x 100" finished); can you imagine making 20 rows, each 75" long? And then having to sew seam after seam to join those 75" long rows together???  Hmmm, that seemed daunting to me and like a perfect recipe for rows to go crooked and seams to go wonky. Not cool.

How to approach quilt assembly, then??   Back I went to the print out. I first thought simple quadrants, but that chopped things up too much and still left pretty large/long seams. Hmmmm. I looked a bit longer and decided to find natural breaks in the quilt and use those.

I used a highlighter to mark off what my sections will be
top row: 2 sections, divided where Mario's head touches the sky on the left
middle row: 3 sections, divided where Mario's arms bump sky on either side
bottom row: 2 sections, divided at the edge of the 1st hill
Staggering the seams will help the stability of the quilt, too.
Perfect! Now I can do sections, see some progress as I go (and my 8 yr old son will see it too, this way) and then just join section to section and only have to do that long 75" seam twice! Brilliant!!

For the actual assembly, then, I just take a stack of what is needed for the mini-row within the section, sew the fabrics together one at a time (pressing seams open as I go, to reduce bulk), and then will assemble the mini-rows into their respective sections.

sewing! I have my print out (aka, map), my stack of squares, my 1/4" foot,
and I am good to go!
This will also enable me to do the embellishing on each section before it goes together as a full quilt top. As there's quite a bit of embellishing to do, that will be helpful and much easier to manage -- I need to add face details to the Mario, and outline his legs, add buttons to the overalls, that sort of thing. Much easier to handle in small chunks than as part of a whole twin sized quilt.

Can't wait to see this start to come together!

Thursday, June 13, 2013

And now, the next project! Super Mario Quilt for a Super Son!

With quilts finished for Son 1 and Son 2, my youngest suggested it was his turn for a quilt.  I hand't actually planned to start his yet, because he very rarely sleeps in his own room -- our bedroom has a sort of dressing room area that holds an extra bed and he mostly ends up sleeping there. So why make a quilt for a boy who won't sleep in his real bed in his own room?  Well, in hopes that said quilt will be the reason he needs to move back where he belongs, of course!

I took a lovely time out to work on the 15 Minutes of Play Architecture Challenge, but now that it's done (just waiting on binding), time to get on to the quilt my youngest wanted. Being as he's 8 yrs old, his tastes are a little.....well, fun. Whimsical. Little boy-ish. But not too little boyish, as he does have older brothers who are teens or almost teens.  So what did Son 3 want?  Why, a Super Mario Quilt, of course!

I scanned the internet for ideas. I found an absolutely adorable -- truly smashing! -- Quilt Along over at Cut to Pieces.  I ruled it out right away, because living in S. America I do not have access to the fusible stuff that makes her QAL easy to do instead of absolutely crazy. I know my limits, and piecing a bunch of squares that finish at 1", in the traditional, good old fashioned piecing method --- not gonna happen. If you do have access to fusible stuff, her QAL is fantastic and I highly recommend it. If you don't, feel free to use my design instead.

Lucky for me, my son is fairly opinionated and wanted one big scene from the video game anyway, rather than several different characters or images. Whew! His desire and my laziness self limitations work nicely together! I pulled up a simple patchwork layout on my EQ7 and had the boys help me color the squares to resemble the desired scene. My boy was very specific with exactly what he wanted, so I had him sit next to me and tell me when I got the colors just right. I chose the smallest size patch (5" finished) I was willing to work with, we colored in accordingly, and the design was done.

the EQ7 image

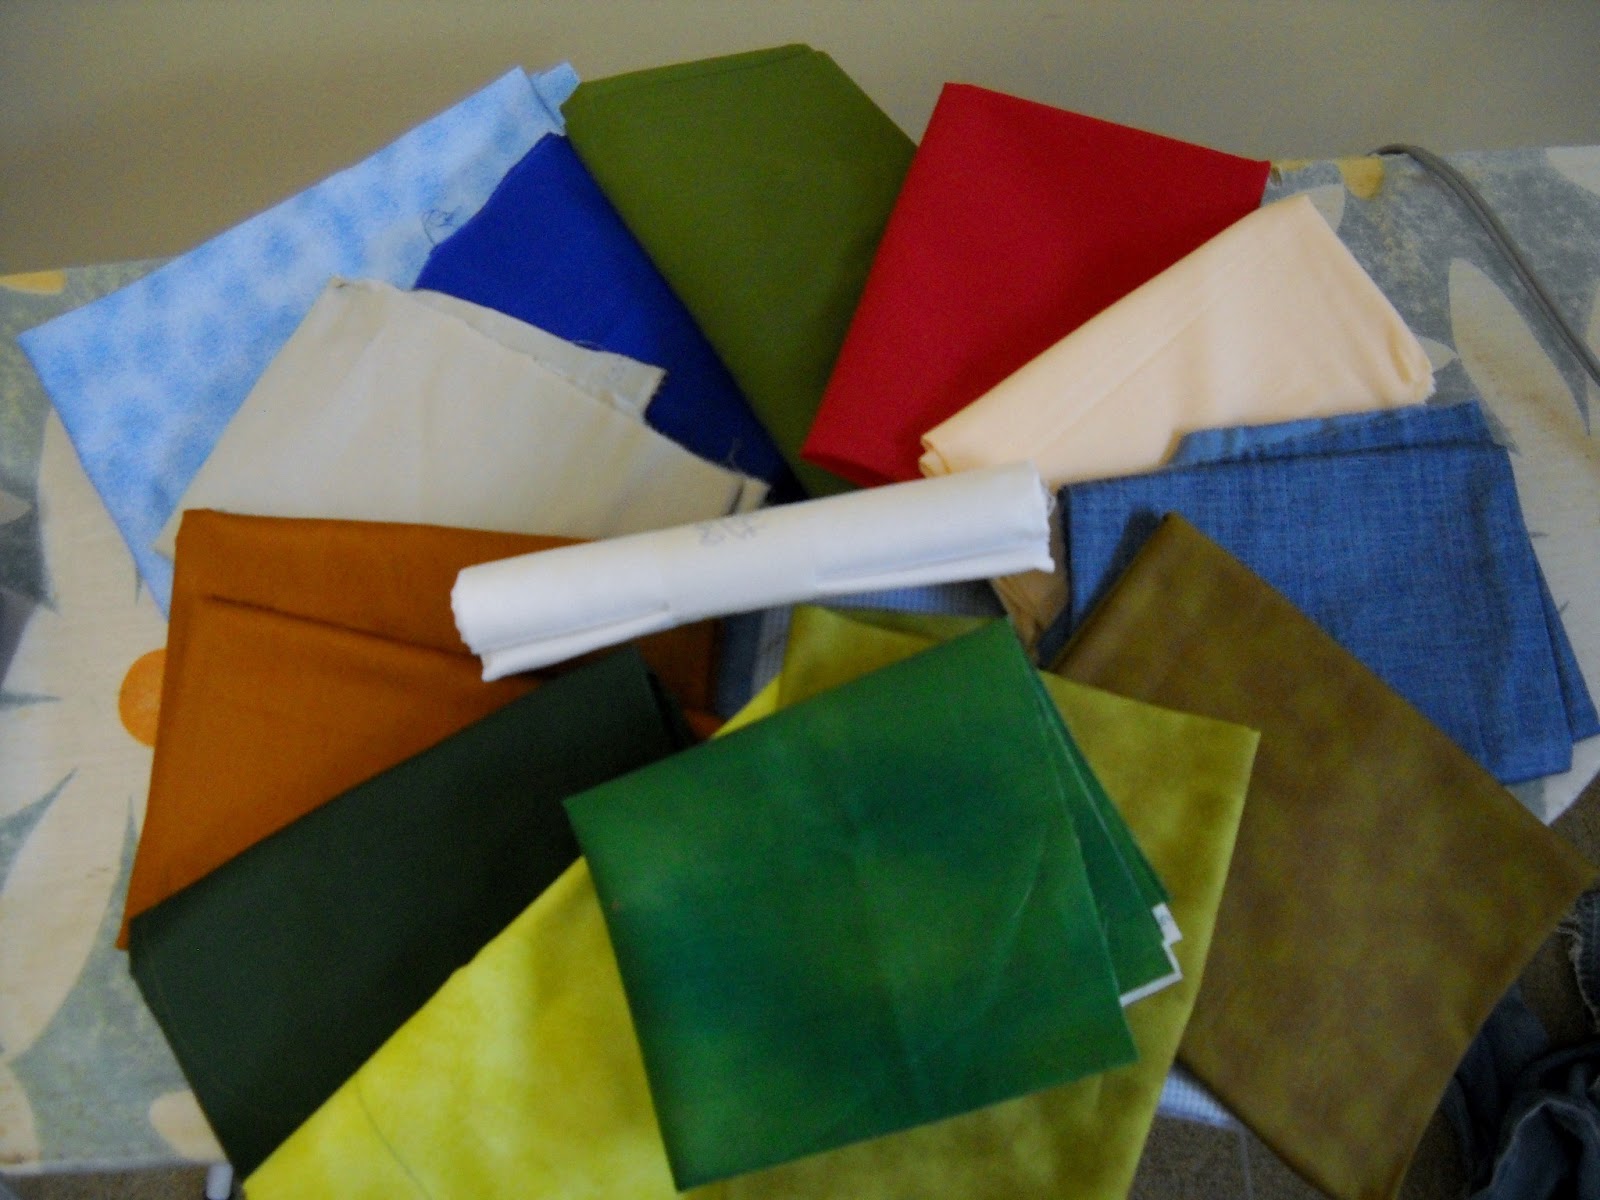
 Later, I took my boy with me to buy fabrics, so he could confirm color choices, then I actually starched the fabrics before I cut them into the needed squares.

all the fabric
Why did I starch the fabrics?? Well, I've noticed that my quilts end up wrinkly. I have two theories on that --- one, some time ago I gave up pressing. At all. I finger press my seams as I go, but I quit pressing finished blocks, or rows, or quilt tops, or backs, or anything. And, well, it shows.  Theory two is that I don't baste sufficiently, which is probably also true. This quilt needing to look crisp due to the design, I decided I'd better get over my lazy self and not skip steps like that anymore. So, I starched the fabric and then cut it.

starching...

starched...

cut!
that is a LOT of squares. so glad I went with 5" finished!

Next up, let's get sewing!

Unexpected Inspiration

I have some fabric in my stash closet that I've been saving for just the right project. I used some of it for my place mats, and have been mulling over project ideas ever since. The colors are just bright and vibrant and fun, and I'm eager to get them into a throw sized or lap sized quilt for our couch.

I might have stumbled onto the project, and it came from the most unlikely of places: another video game.

Now, this video game is a computer based free-build sort of game. The player has a supply of digital blocks with which he (or she) can build pretty much anything he wants; my boys call it "Legos for the Computer".  If you have kids in your life, you may  have heard of it --- Minecraft. It's a fantastic way for kids to be creative.

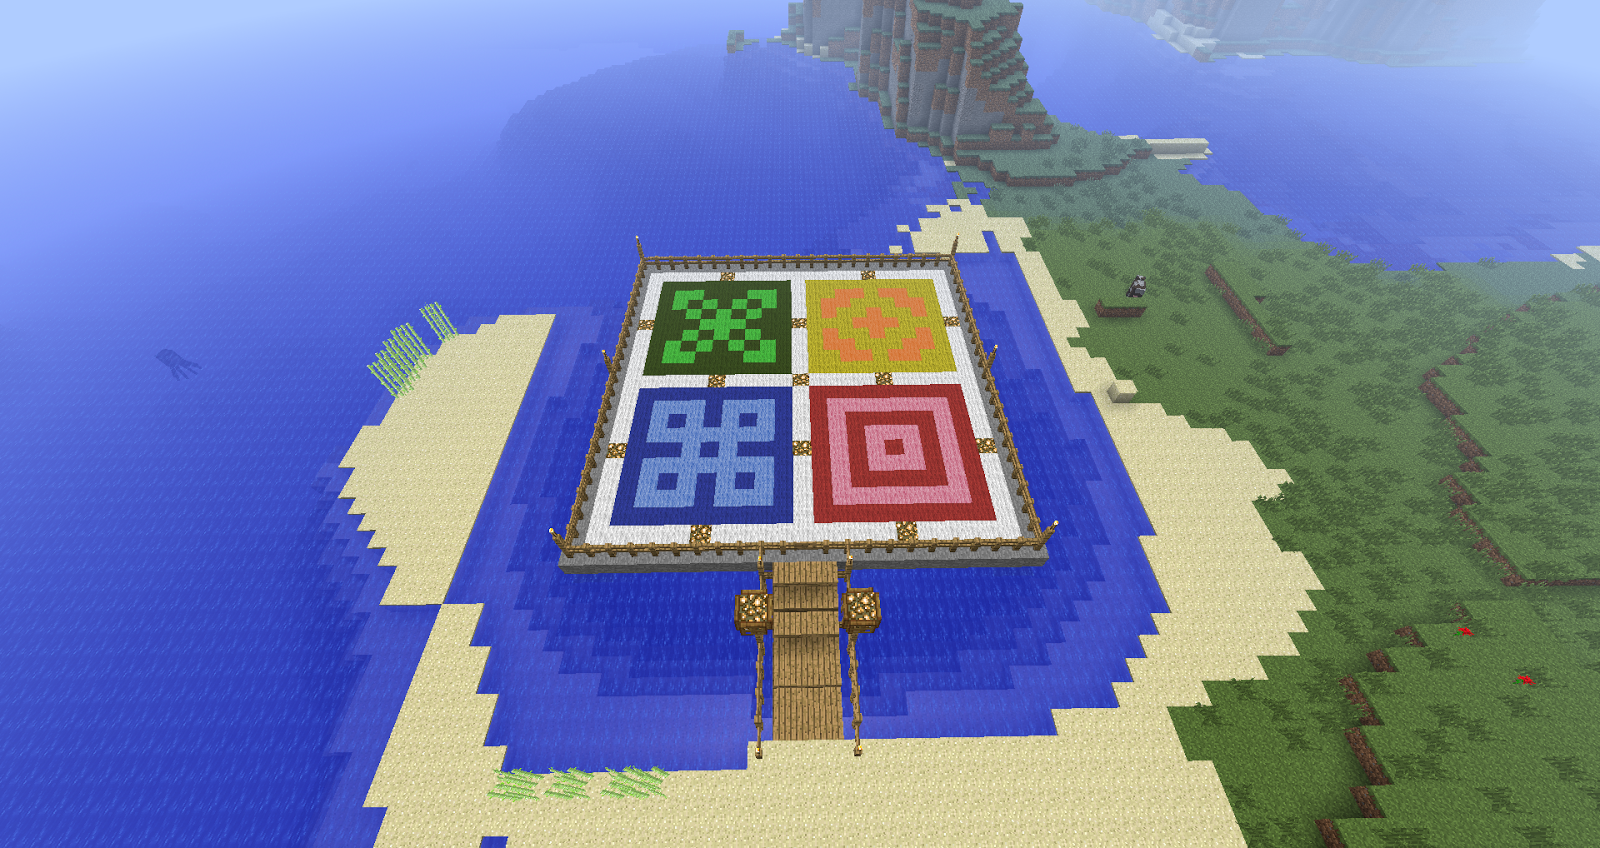
Well, imagine my surprise when I glanced at the screen last night and my 15 year old had built what looked like a quilt.  He wasn't thrilled with me calling it that, but what I saw was definitely quilt-worthy. Take a peek....

imagine just that square platform, as a quilt made of 4 oversized blocks....

I'm going to copy this design over into my EQ7 software and see if I have enough fabric to pull this off. I hope so, because it is just perfect. My 12 year old son wants to help, too, so I'll probably use this as a way to really teach him machine piecing. Should be very straightforward  assembly, so perfect for my beginner.

Eventually the 15 year old will get over the horror of seeing his Minecraft "spleef arena" (a strange kind of fighting the players can do in the game) turned into a quilt. I hope.

Tuesday, June 11, 2013

which binding?

Narrowed it down to these two, which should it be?

map fabric in tan
really sets off the piece/pops against it

sunset fabric
blends well up top, not as much against the hills

view (sort of) with both....left or right, left or right..?
still trying to decide

Monday, June 10, 2013

....and finished it!

Wow, this was fun!!

I took a few days off between the buildings and the rest, but when I sat down to do the rest -- none of which involved those time-consuming pivots! -- I just kept on going until the whole thing was quilted. Wow! I think I might need more small projects in my future; it is so very rewarding to actually do the quilting I envision instead of what I settle on because I can't manage a bed quilt through my little machine, and to finish without stiff shoulders and a sore neck!

With the buildings and street done, I moved right to the hills/rain forest portion. I debated thread color for a while, and decided I wanted to emphasize the "city cutting through the rain forest" aspect so stuck with the gray thread. I quilted simple contour lines, following the curves of the hills with a simple straight stitch.

hills are quilted
Then I moved on to the little bit of sand in the lower left corner; I did a simple diagonal cross hatch over that little piece, just to give it a different texture from the rest. For the ocean, I played with decorative stitches on a piece of spare fabric until I found the look I wanted. I have a super basic machine, so not many stitches to play with, and I don't know what this one is called (it's "J" on my machine...) but I liked that it looked like waves, without me having to do free motion quilting of waves.

and now the waves are done
I used a dark blue 30 wt. thread for this part and then with my walking foot just followed the shore, overlapping the top row a bit as well as overlapping the sand to mimic how water laps the shore in real life. The decorative stitch did all the work for me, and I am thrilled with how it turned out. yay!

For the sky I switched thread again, to a varigated blue to white King Tut thread. Back to a straight stitch, and still with the walking foot, but I quilted in gentle curvy lines to give a more organic, windy, breezy kind of feel....air currents rarely go in straight lines, after all. I skipped over some buildings, curved around the tops of others and just had fun with the free flowing aspect of it; sometimes I crossed lines I'd already quilted, sometimes I drew really near, sometimes I moved far far away, just quilted as it felt right.

wavy air currents across the sky
None of the quilting lines, for any of this, were marked at all, except that on the buildings I did mark one single line to indicate did I want the lines going horizontal, vertical, diagonal, etc. For the rest of this I just followed the outside edge of the part being quilted, and then followed the sewn lines; for the sky I just improv'ed the whole thing.

finished! well, waiting on binding....
also -- should the SP "pop" just a little more....hmmmm.
Now it waits for binding....not sure yet what fabric I want to use for that, so I'm working on my next bed quilt while I mull over my options for finishing this project.


Thursday, June 6, 2013

Started the Quilting!

I knew for this challenge project I wanted to stretch  myself, so I decided to do custom quilting, which I've never done. On a home machine, and being a newbie at this (I've owned my machine less than a year, folks!), I've only so far done straight line quilting with just a teeny tiny little bit of custom touches on two projects.  As most of my projects are big (bed sized), it's *hard* to wrestle a quilt through a home machine with the precision needed for custom stuff.  The small size of this challenge quilt -- perfect!

I started with the buildings, and did a mix of vertical lines, horizontal lines and diagonal lines, so that the buildings touching each other all have lines going different directions. This way it helps separate the different buildings, although I also did a tight zig zag down the edges or  outline of each building, as well.
notice on these buildings -- diagonal, vertical, opposite diagonal (following the
edge of the slanty line up top on that building), horizontal, vertical, and so on..
I also went ahead and did a zig zag in the street section, just straight across following the edges of the street.  I skipped over the SP to enhance the trapunto, and left the SP unquilted so that it really pops.

I did this all with the walking foot and a regular straight stitch, and all with pivoting, so that it is one continuous line of quilting from the left edge to the right, back and forth, up and down, side to side, marching on until it gets to the far edge. It was a LOT of pivoting, but so worth it! I love how the buildings turned out!

I lined up the edge of the walking foot with the line I wanted to follow.
When I reached the edge of the building, I would stop with the needle in the fabric,
raise the foot, pivot the fabric, take 2 or 3 stitches down the edge (going over the zig zag)
and then pivot again, line up the foot against the line just sewn,
sew back in the opposite direction, repeat ad nauseum until all the buildings were quilted in this manner.
Look, it even looks nice on the back! First time I've ever used a backing fabric + thread combo that lets the quilting show up on the back. Gulp! Scary stuff, that, but since it's a wall hanging I didn't worry about it and just did what I wanted. It turned out lovely, though, so I'm extra happy! Very proud of myself for stretching this far. Now on to the hills and background....

front (in progress) and back
I love that I can look at the back and tell where the buildings are!

Wednesday, May 29, 2013

Challenge Quilt, in Process....

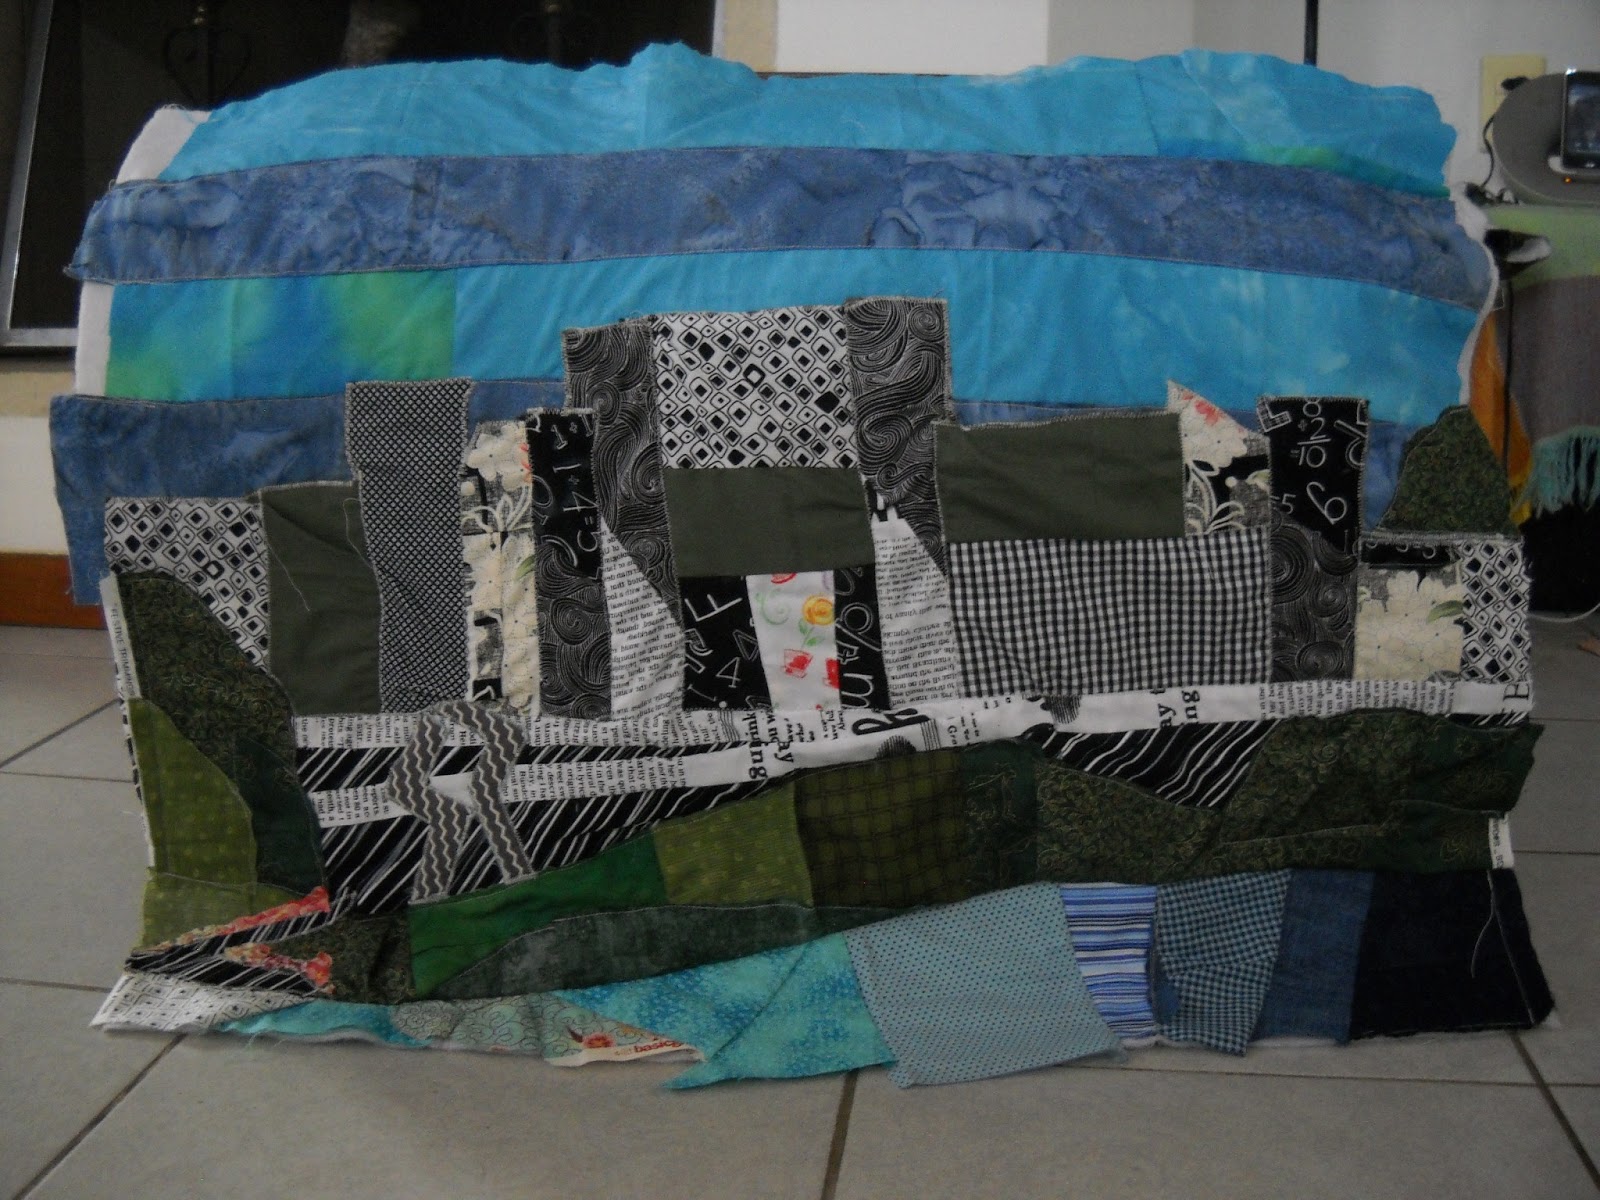
As I typed yesterday, I realized that I hadn't done a very good job, at all, of showing the city as a scar against the rain forest parts.  I knew I needed to fix the SP portion of the quilt, but as I napped in the afternoon I realized I also needed to figure out how to make the city feel more scarrish, like it was slicing through the rain forest (which, in fact, it is). I went to bed with that on my mind, and woke up with an idea.

I love those aha! moments like that, and got up energized and ready to play! First up, I ripped out the SP. I knew that one did not work, at all. When I'd made it, I loved it. But as I played with what building it would "pop" against, I forgot about where it landed; middle of the street just wouldn't work. Oops. And I tried working from memory and got the oh so striking angles all wrong. Double oops.  So, seam ripper to the rescue; goodbye, blocky SP bits.

ripping out
and ripping

goodbye, S!
goodbye, P! Hello, nice blank canvas!

After that was done, I pulled out my greens and set to work. I decided  I couldn't get the new SP into the right place until I had the extra hills in place, so I started with this.  I knew I didn't want a choppy look, so I cut several random bits into curvy edged shapes, reminiscent of hills, then I auditioned different pieces in different areas on either side of the cityscape.

the right side went together easily
On the right hand side, I used the same greens as the  hill below, to really emphasize that this was the same area, just cut in half by the city. I left the top & bottom edges straight, bumping right against the street or building, just to extra emphasize that slashing, cutting effect. The hill itself was all one piece, cut in half, and the top half placed above/behind the city, the bottom left below/in front of, and scooted over a bit. I think this side, especially, gives the scar effect I was after.

The left side was harder; which fabrics, in which place....
option a

option b
option c

For this side, I played around with fronts, backs, sideways....lots of flipping and turning before choosing. Once I was happy with the color, scale & placement, I glued down the pieces using a washable glue stick and then took them over and raw-edge machine appliqued them in place. I put hills in front of the left side of the city and a hill that appears cut in half on the right side; yes, this makes it look like the city is the scar that it is.

glued
glueing
sewn -- yes, now the city feels like it cuts through the rain forest instead of sits atop it
much better!

Now I could get to the SP. I went back to the photo and drew the shapes of the S and the P onto a piece of batting that was around the size I wanted. I cut those out and used the batting templates to audition for placement. Where should these go???


far left
middle?

far right?

Once I understood where they were meant to be, I pulled some little charm squares to audition as fabric options. I knew I wanted gray, or possibly off-white. Not black, not stark white, as that would be too lost against the black & white street & buildings.  

placement chosen, auditioning fabric options
I thought about a splash of color, but I'm still contemplating adding flowers to the rain forest, and part of what I love about the inspiration photo is the very starkness and sterile feel of it; I felt that red would mitigate that.

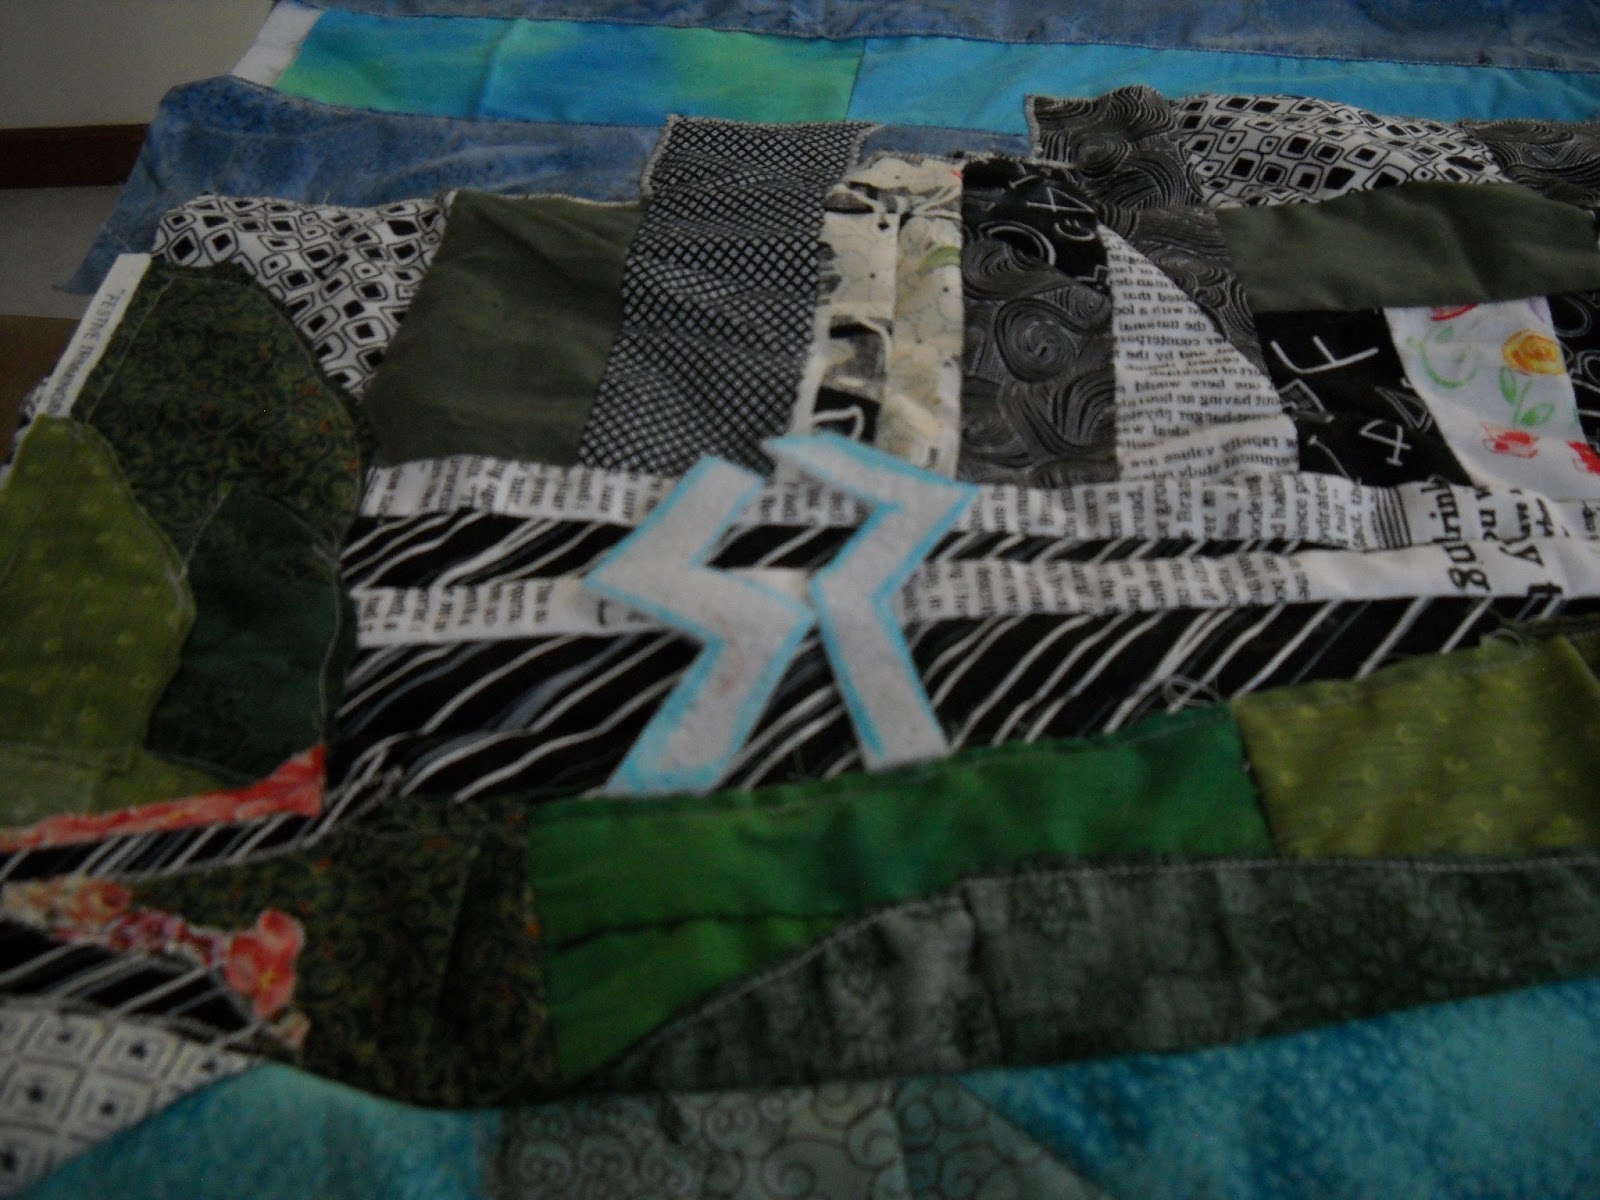
I turned the zigzag print this way and that, and when I saw the vertical zigzag I knew that was the way to go. Then I decided that to really give this little touch some oomph, I would do a faux trapunto; I carefully picked up one letter, traced it onto the back of the fabric, returned the letter to its proper position next to the other, traced the 2nd one, returned it, cut out the fabric letters and then glued the fabric letter onto the batting template.  I did this one at a time, leaving the other in place so I could get the placement just how I wanted; the way the angles of the S and the P meet is a pivotal part of the design (in the original statue) and what I most wanted to capture, so their placement in relation to each other is almost more important than their placement along the road of the quilt.

traced and cut


glued to the batting

placement just so, getting ready to glue...
Once each template had the fabric glued on, I then glued each whole letter to the background, ready to sew. I was grateful for my "extra up" lever thing that raises my presser foot even higher, so that I could get the quilt under without knocking the letter out of place. Then I set the stitch to a tight zigzag; I've done zigzag (tight, to catch all the raw edges) around all the "city" elements and raw edge/straight stitch on all the natural elements. I used a stitch length of almost 0 and a width of 3 for this, and machine appliqued the letters to the background; I've also been using my walking foot for all of this.  There! Much better!

all glued down, ready to sew

zigzag stitched
very pleased with how the fabric lines pop and the angles show up.
Also, see the little slash of street & flowers, heading from city to beach? love that!

I added one last little touch for now, a narrow slash of road angling down from the city to the beach, and along the road, narrow slashes of flowers. I am uncertain how much more flower/color I'll add to the rain forest; in reality, the drive from the city to the beach (which does wind through hilly/mountainous rain forest) is full of color. Purples, pinks, reds, yellows, whites....there are flowers everywhere. Down on the roadside, up in the trees, just everywhere. But. This quilt is about the city, so I'm not sure how many flowers to put. Enough that the absence of same makes sense in the cityscape, but I've not yet decided what that looks like. For now, I'm leaving the rain forest part alone and waiting for it to speak to me and tell me what else it wants or needs.

letting it speak to me for now....
This quilt is my attempt to Play Along with the 15 Minutes Play Architecture Challenge; see the other participants, inspiration, process, etc. over at the 15 Minutes Play blog. Deadline is not until July 6, so join in!